
Cabled Crochet

As with every single thing crochet, there are about 1.7 million ways to make crochet cables, but today I am going to show you my current preferred method, using UK Raised Treble stitches (US Front Post Double Crochet) against a backdrop of UK Double Crochet (US Single Crochet). In this method, you work the cables only on the front of the fabric, with the wrong side and spaces between cables always being UK Double Crochet. Your raised stitches are worked into 2 rows below, which creates cables that really pop. I also find its the easiest method to cable, as after the initial set up, you will work raised stitches only into raised stitches, so there is limited possibility for errot.
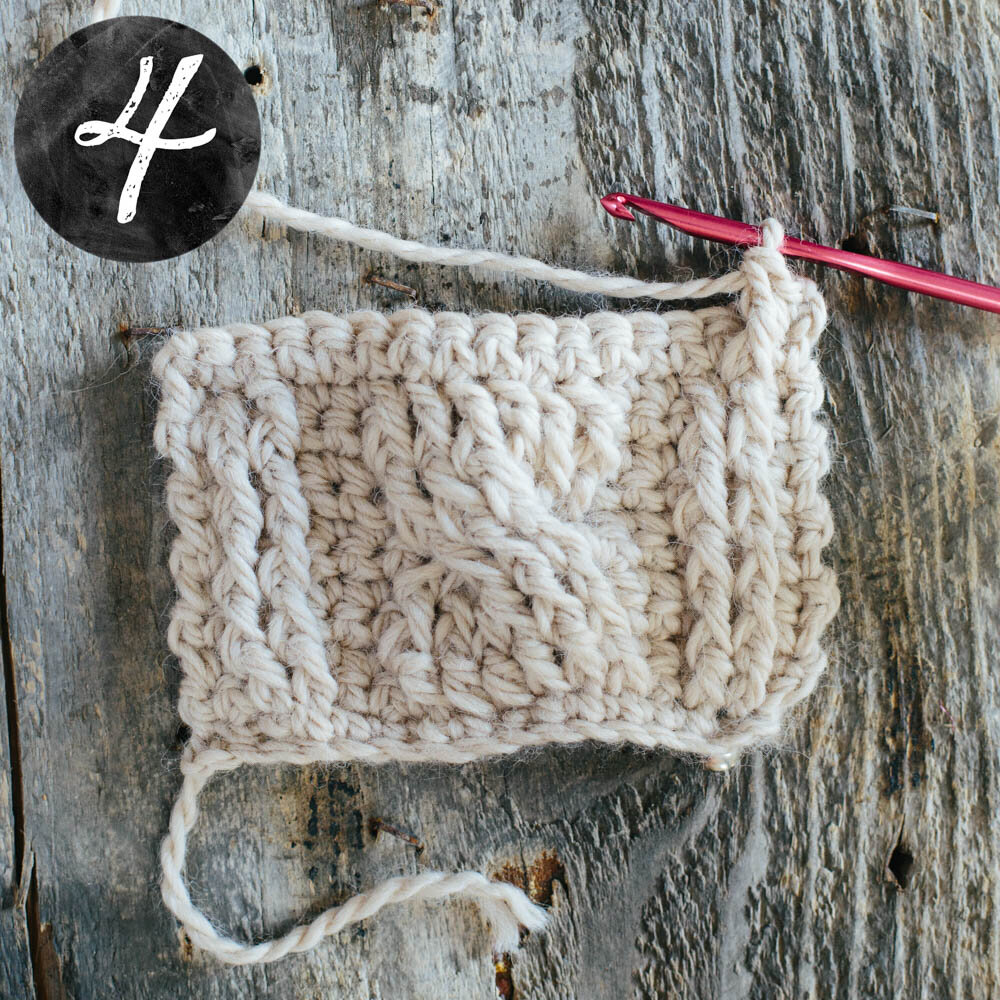
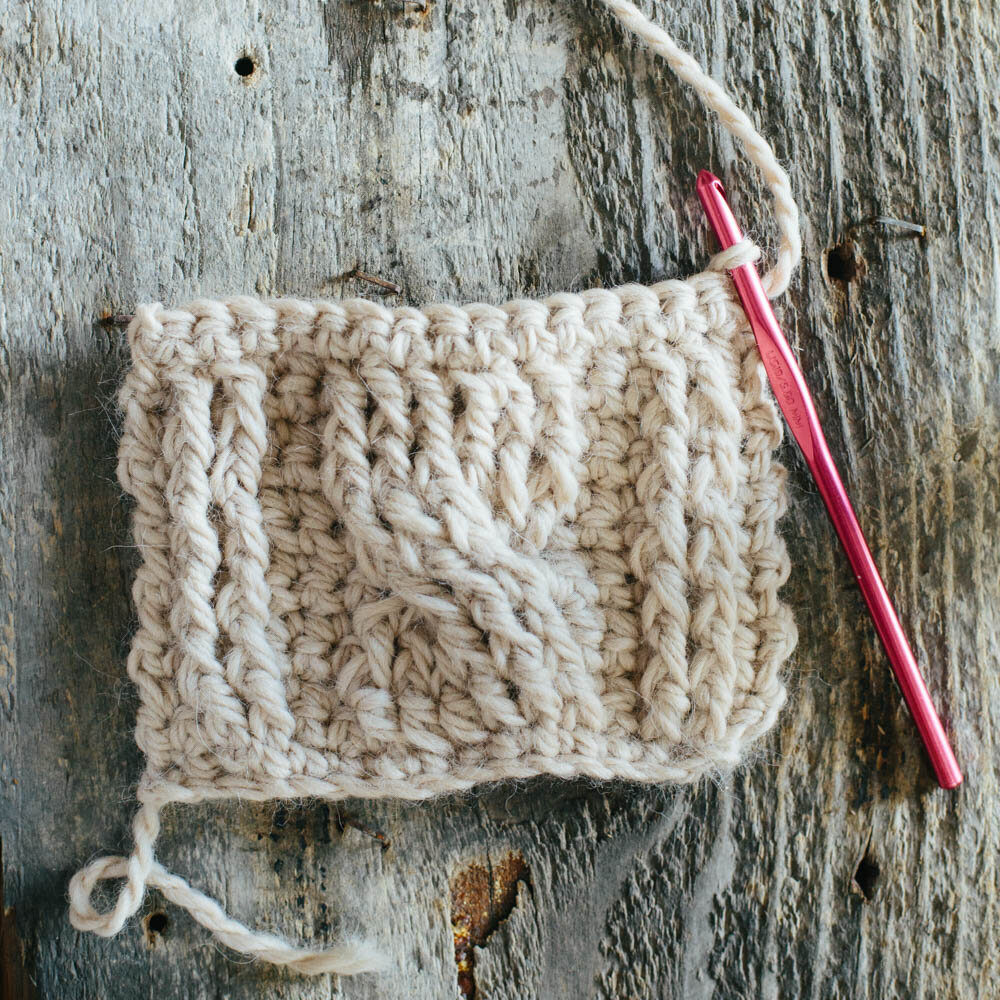
In the example below, I am working a simple 6 stitch cable - but of course cables come in all shapes and sizes. However, this should give you a good start to cabling.
Click to enlarge and print
Raised Treble Front:
Raised stitches form the basis for most cables. It really is worked just like a treble, but you work your initial step of the stitch around the post, rather than into the top of, the stitch.


(click on images for larger views)
1. Yarn over and insert your hook behind the post of the stitch 2 rows below, from the front around the back and through the front side of the fabric.
2. Yarn over and pull through the stitch (3 loops on hook).
3. Yarn over and pull through 2 loops.
4. Yarn over and pull through 2 loops.
Wrong Side:

When you are working this kind of cabled crochet, with the raised stitches going into the raised trebles in the 2nd row down, you will see you are creating 2 layers of fabric. On the wrong side of the fabric, you will always work into the upper layer of stitches.
After working the reverse side of UK Double Crochet
Crossing
Straight forward raised stitched form the majority of the cable. However, to get that common twist to the cable, a row of stitches that cross are required. This row (Row 7 of the sampler) is worked as follows:


(click on images for larger views)
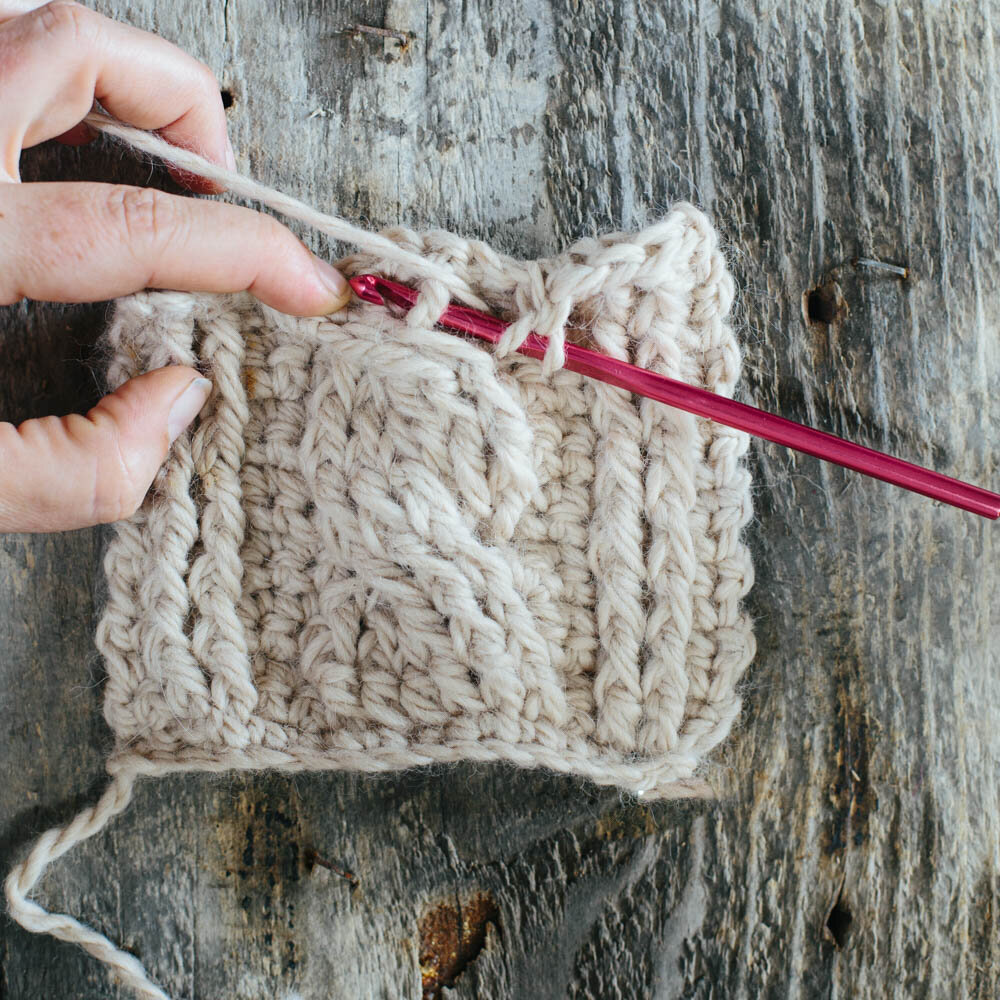
1. Work up to the cable.
2. Miss the required number of stitches, RtrF the remainder of the stitches in the cable.
3. Do not go forward, but turn back and RtrF in the missed stitches in the order you missed them (this can be one of the tricky bits and may require a few hook and hand gymnastics to reach back to the first missed stitch).
4. Continue on the row as normal, missing the first batch of raised stitches you made. This creates the cross.

After the cross and you are working the next row in the cable, you will work the raised stitches in the order they come, but you may need to push aside the front stitches to reach the Raised Trebles behind them.
A little bit of practice should get you cabling in no time. Use the stitch pattern above to create a scarf or, fancy something a bit more adventurous? Why not try some of these cabled crochet patterns:


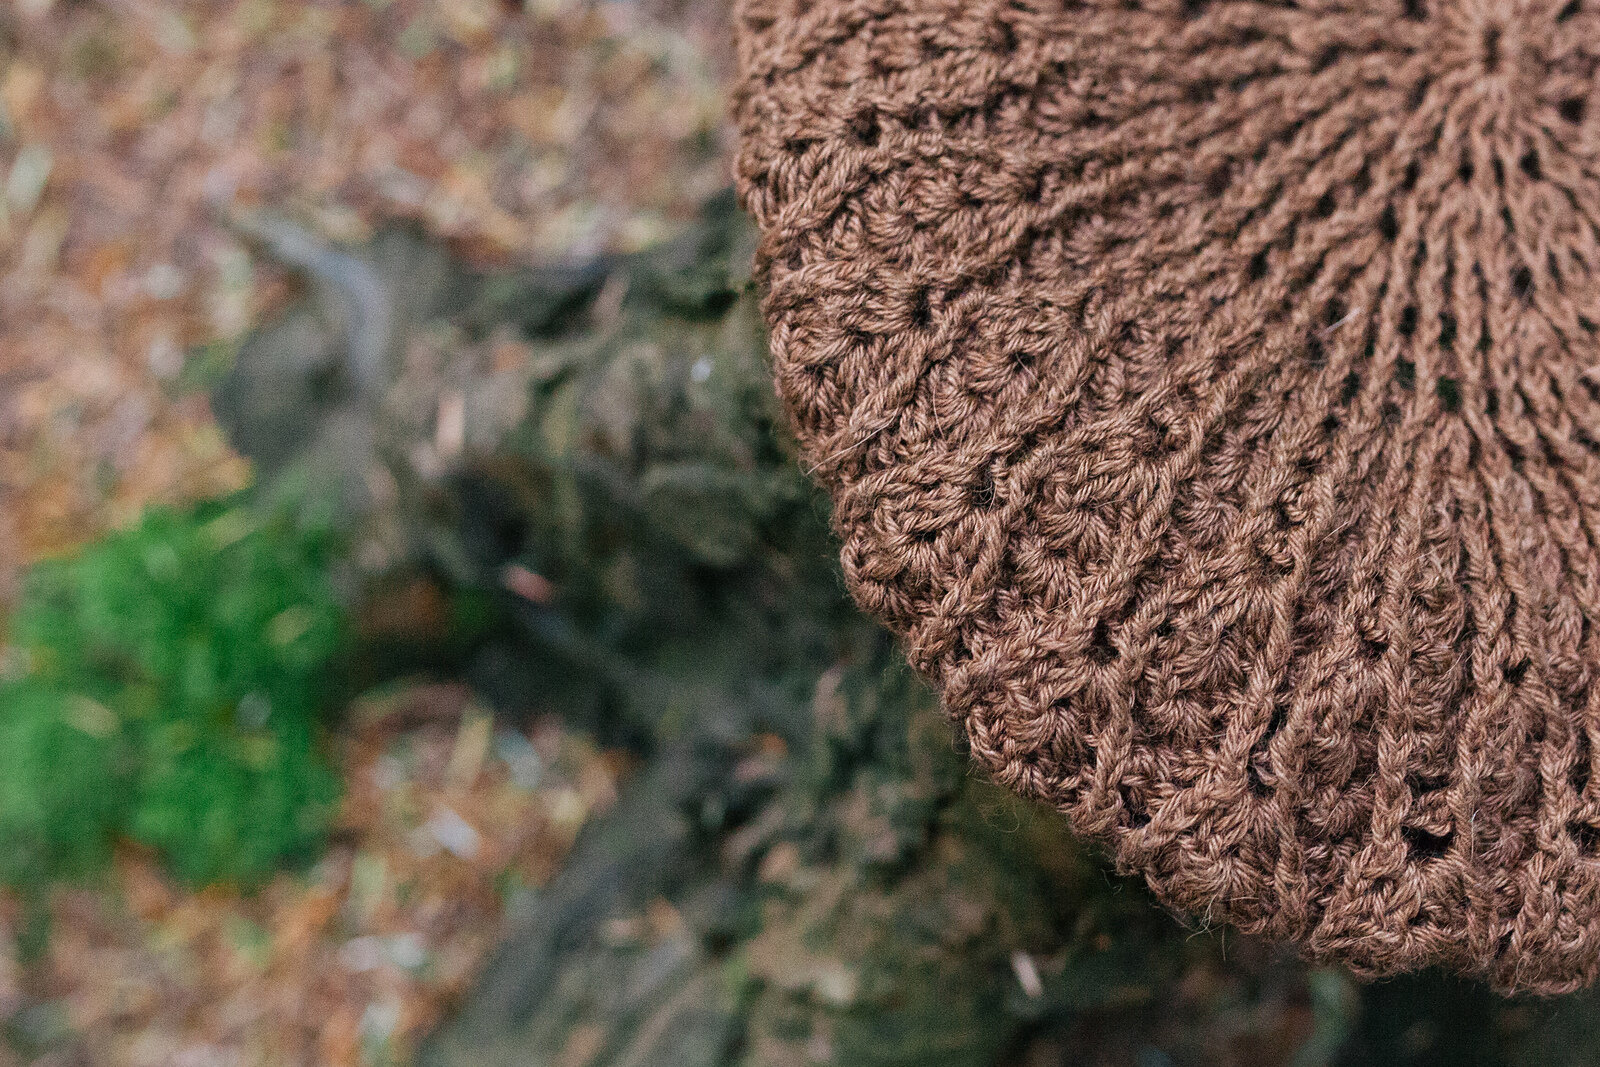


Patterns from Left to Right:
- Fisherman's Wife by Kalurah on Ravelry
- Hepatica Cardigan by Rita Taylor
- Gnarled Bark by Joanne Scrace
- Wolf and Cabled Yoke Cardigan from Crochet at Play
- Cable Mittens and Cowl by Tara Murray
Hope that helps start you on cabled crochet!!
For more patterns and how tos from Kat and Joanne, head to The Crochet Project.