
Week 1: Casting On
This morning, we have Libby Summers here to show you 2 different methods of casting on. Starting out, you may find one is easier than the other, so give them both a try. Casting On
What is casting on? Casting on is a technique which creates a set of loops, knotted at the base and placed on your knitting needles, to provide a foundation row for you to work on to created your knitted fabric.
How many different methods of casting on are there? There are many different methods for casting on, the choice of which is usually determined by either the decorative effect desired or the practical need required. However, a beginner need only start with one or two methods. The Knit Camp tutorials cover two methods, one which is easy to master and creates a decorative and elastic base, the other which is more difficult, but creates a firm and discrete edge which can be used for most patterns. If you are interested in learning more methods, than I can recommend the book ‘Cast On Bind Off’ by Leslie Ann Bestor.
Can I skip this step and get straight on to the knitting? No! Without your foundation row you can knit nothing!
What if I make a mistake? Making a mistake while casting on is less drastic than making a mistake in your knitting, as there is not much time or effort lost in starting again. The most likely result of any mistake is that one or more stitches will unravel, or will need unravelling. Just tug the yarn gently (the end attached to your ball), and the stitch should come undone. If you have managed to tie a knot that doesn’t respond to gentle tugging, then it is best to start the whole cast on edge again and the knot will need to be unravelled by hand. A common error is to make the stitches too tight or too loose. Take a look at the photo of the finished cast on row, and try and copy the ‘look’. If the air pocket between your stitch and the needle is too big, your cast on edge will be baggy, if it is too small, you will have difficulty knitting your first row, and the cast on edge will be tight. It is important that every stitch has a more or less identical tension in relation to the needle. A common problem for beginners is uneven stitches. I would suggest that, boring though it might seem, you practice the techniques until you have a good even cast on edge to work with. You will be frustrated by trying to progress with a set of wonky uneven cast on stitches.
Thumb Method This is one of the easiest methods of casting on, and is be done with just one needle. The new stitches are created with your right hand, by twisting the yarn between your fingers to create a new loop. This method of casting on creates a loose and slightly decorative edge, which is appropriate for garter stitch patterns, or knit and purl patterns. The thumb method is easier to master, but take care when knitting your first row not to knit too loosely, as the cast on edge can look ‘loopy’ if not done evenly.
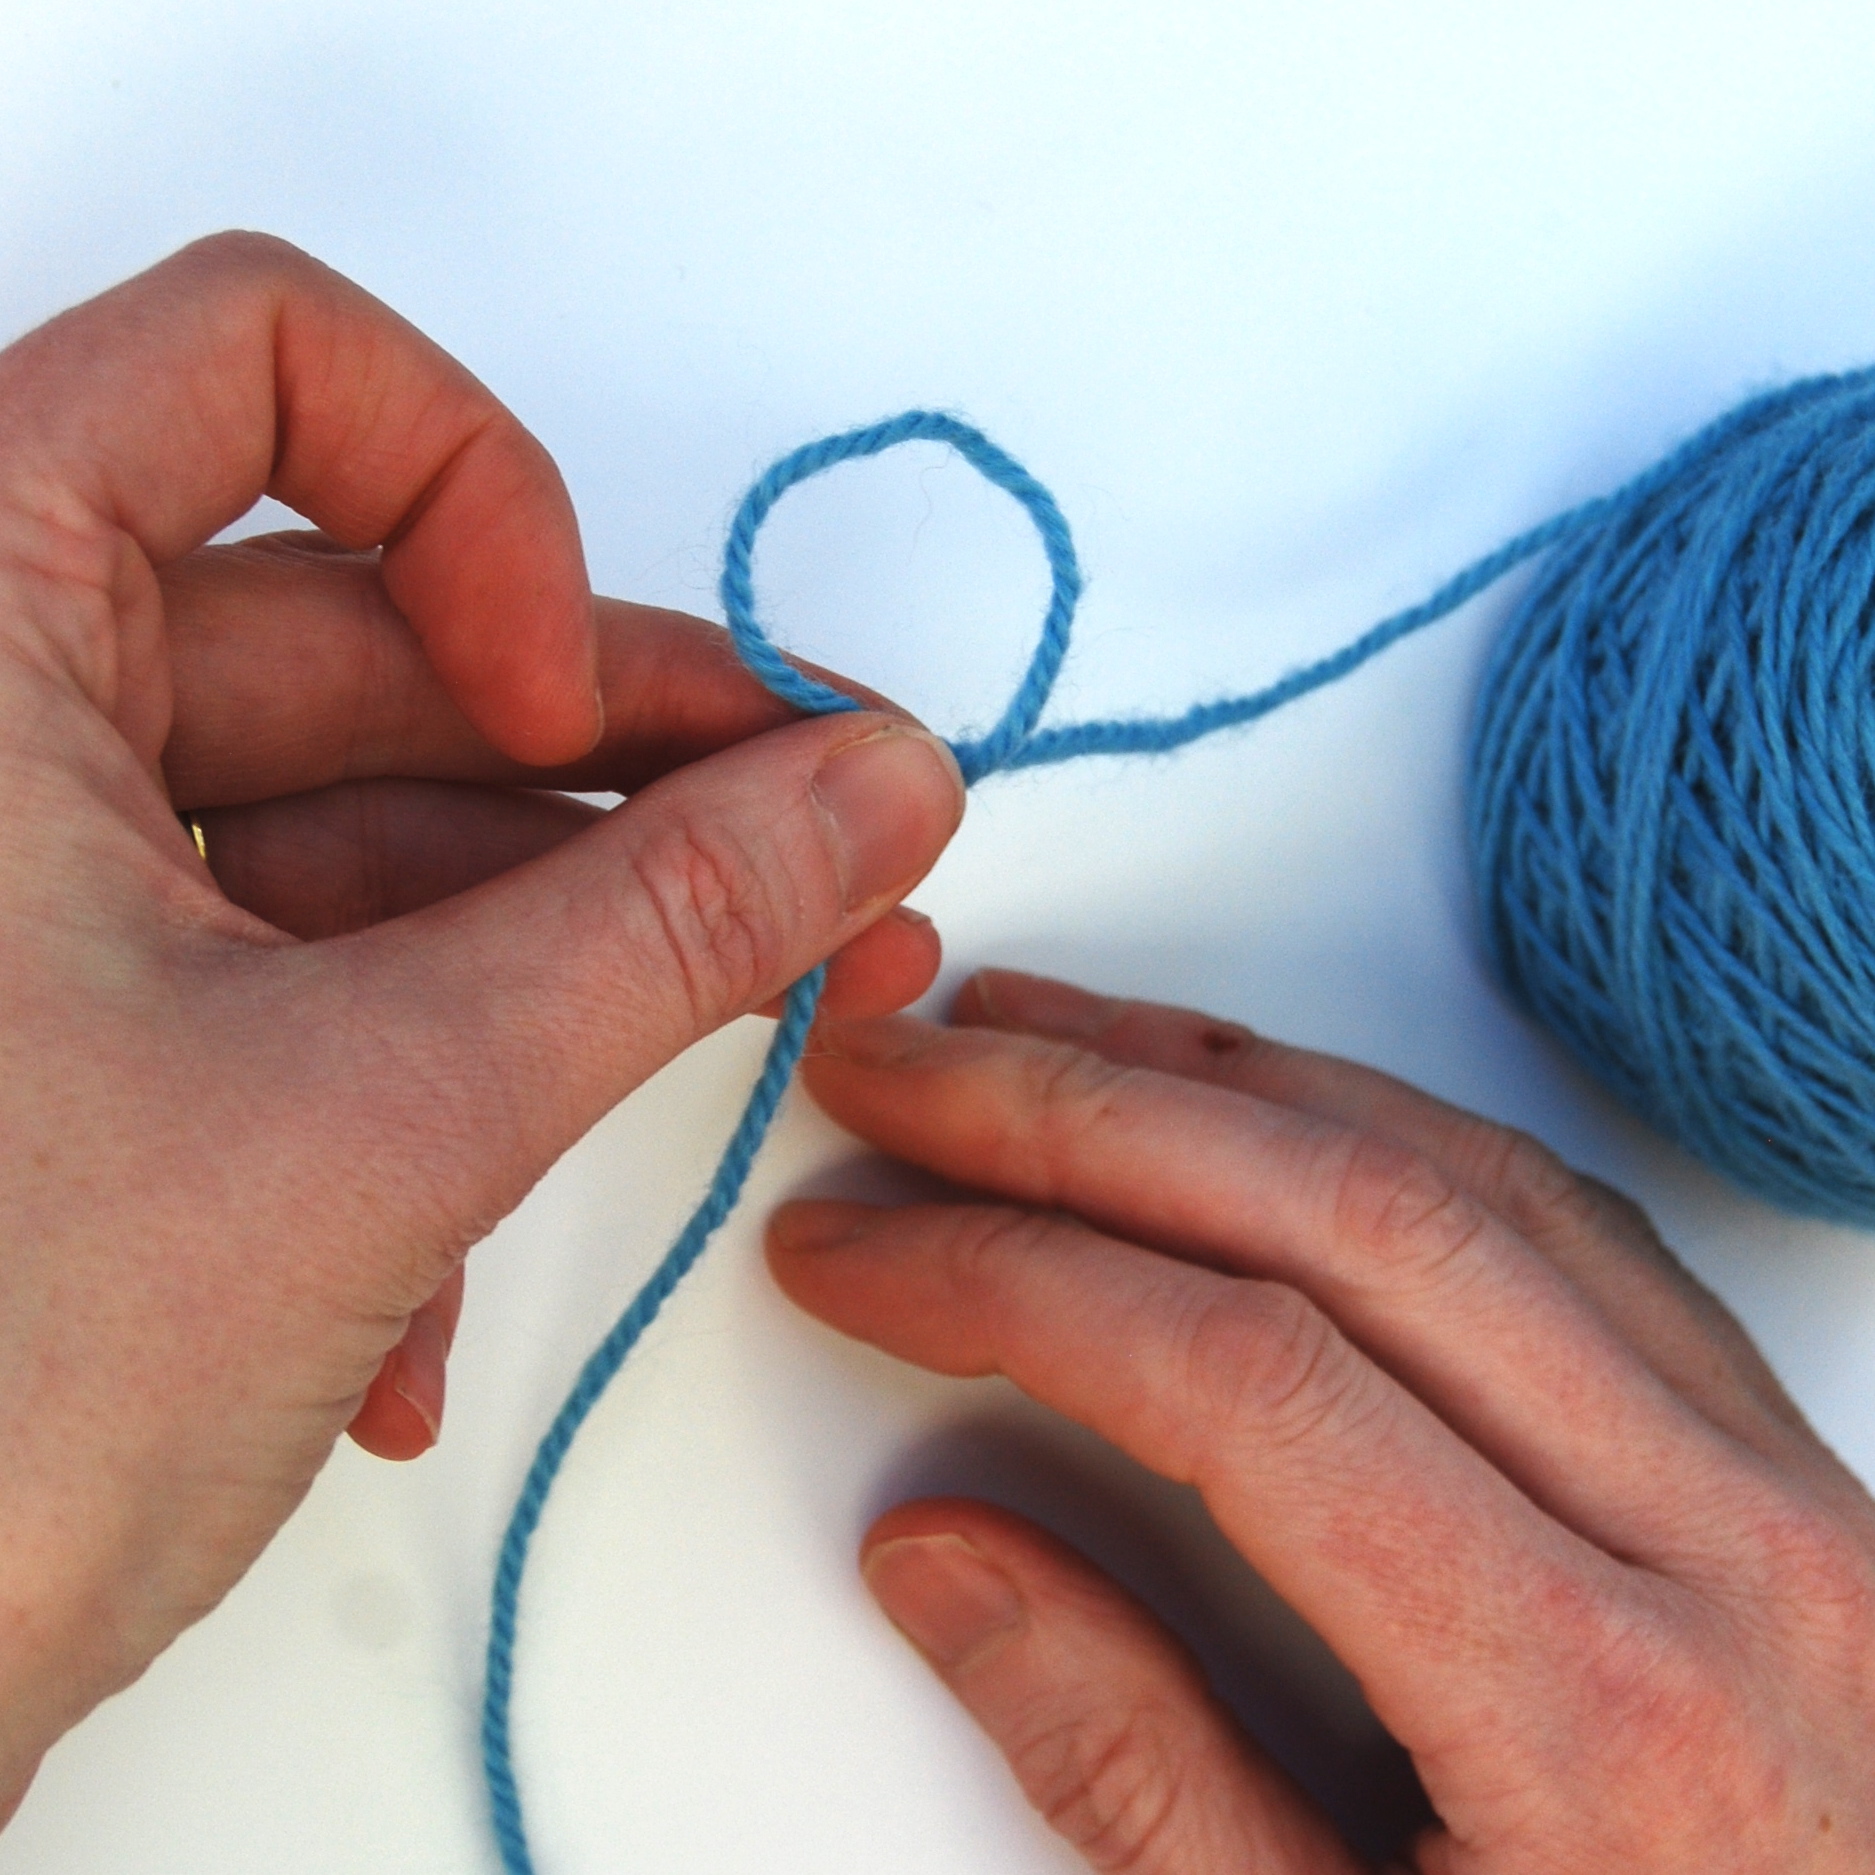
1. Make a slip knot. Start by crossing your yarn over as shown, with the short end on the left.

2. Push the long end of yarn through the loop created, so it just peeks out the other side, as shown.
3. Holding the top of the loop created with you LH, and both long and short end between the fingertips of your RH, pull the yarn gently to create a knot at the base of the loop.
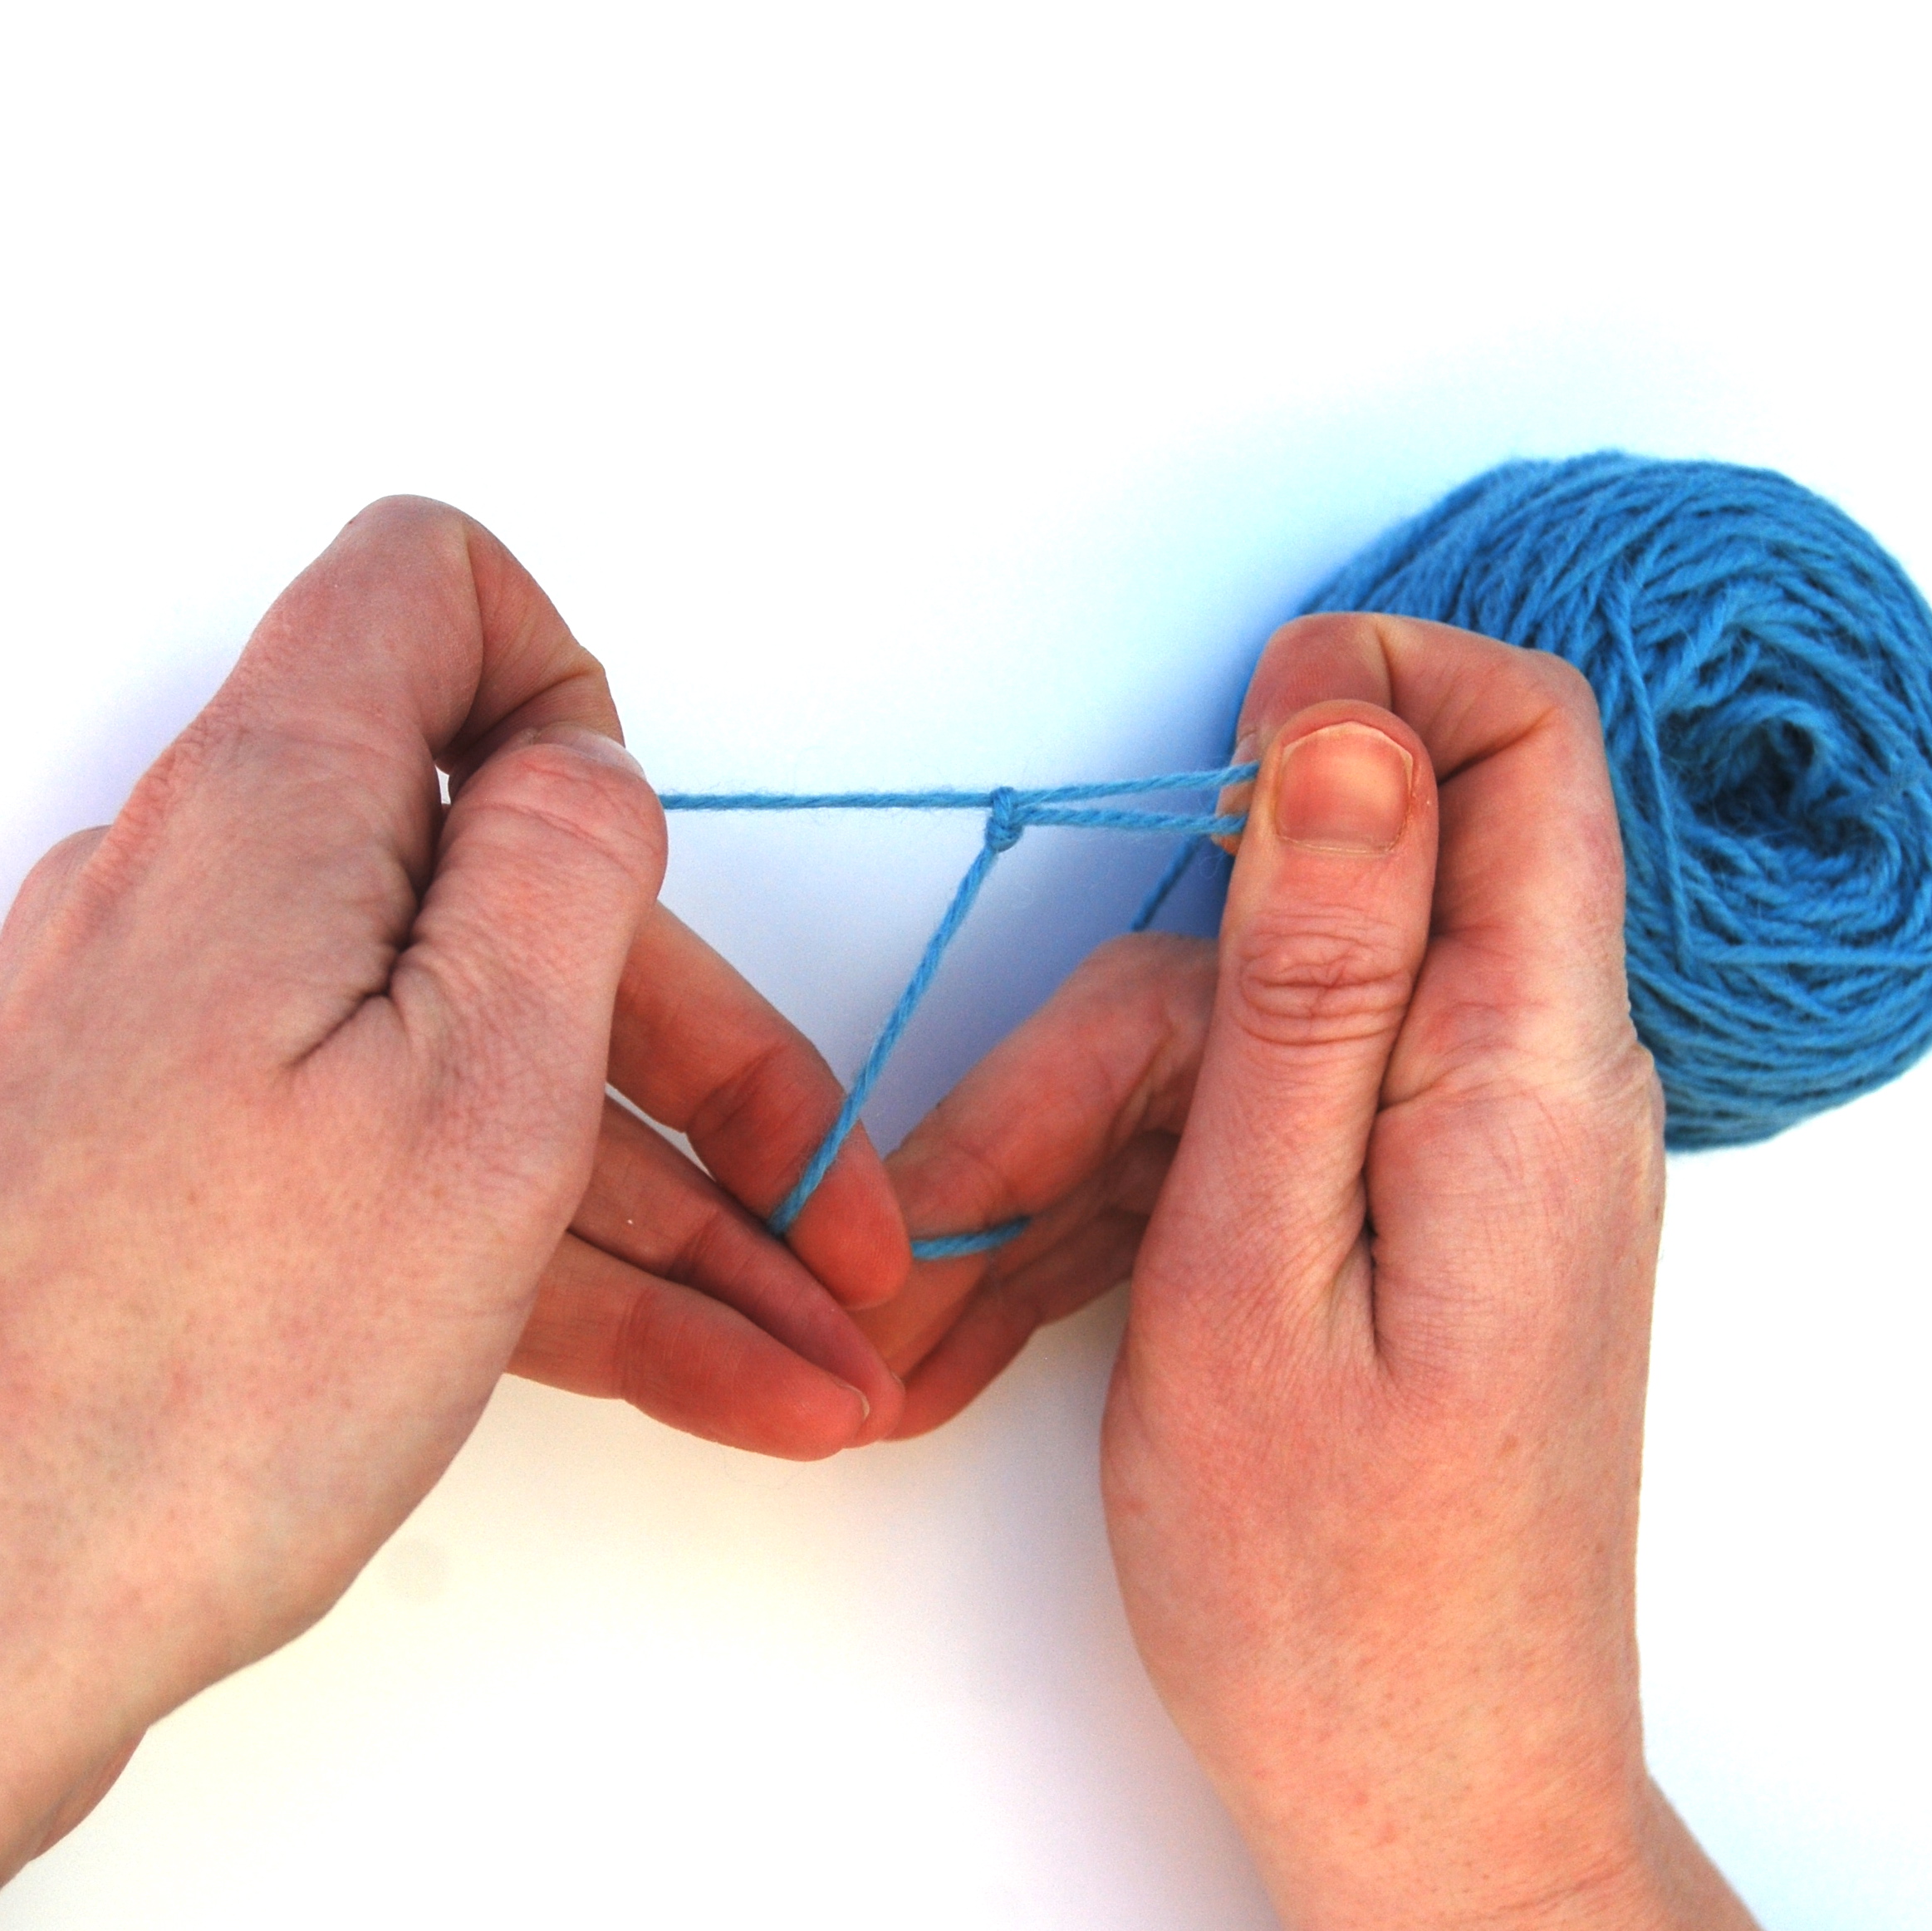
4. You can now adjust the size of the loop by pulling one end only.
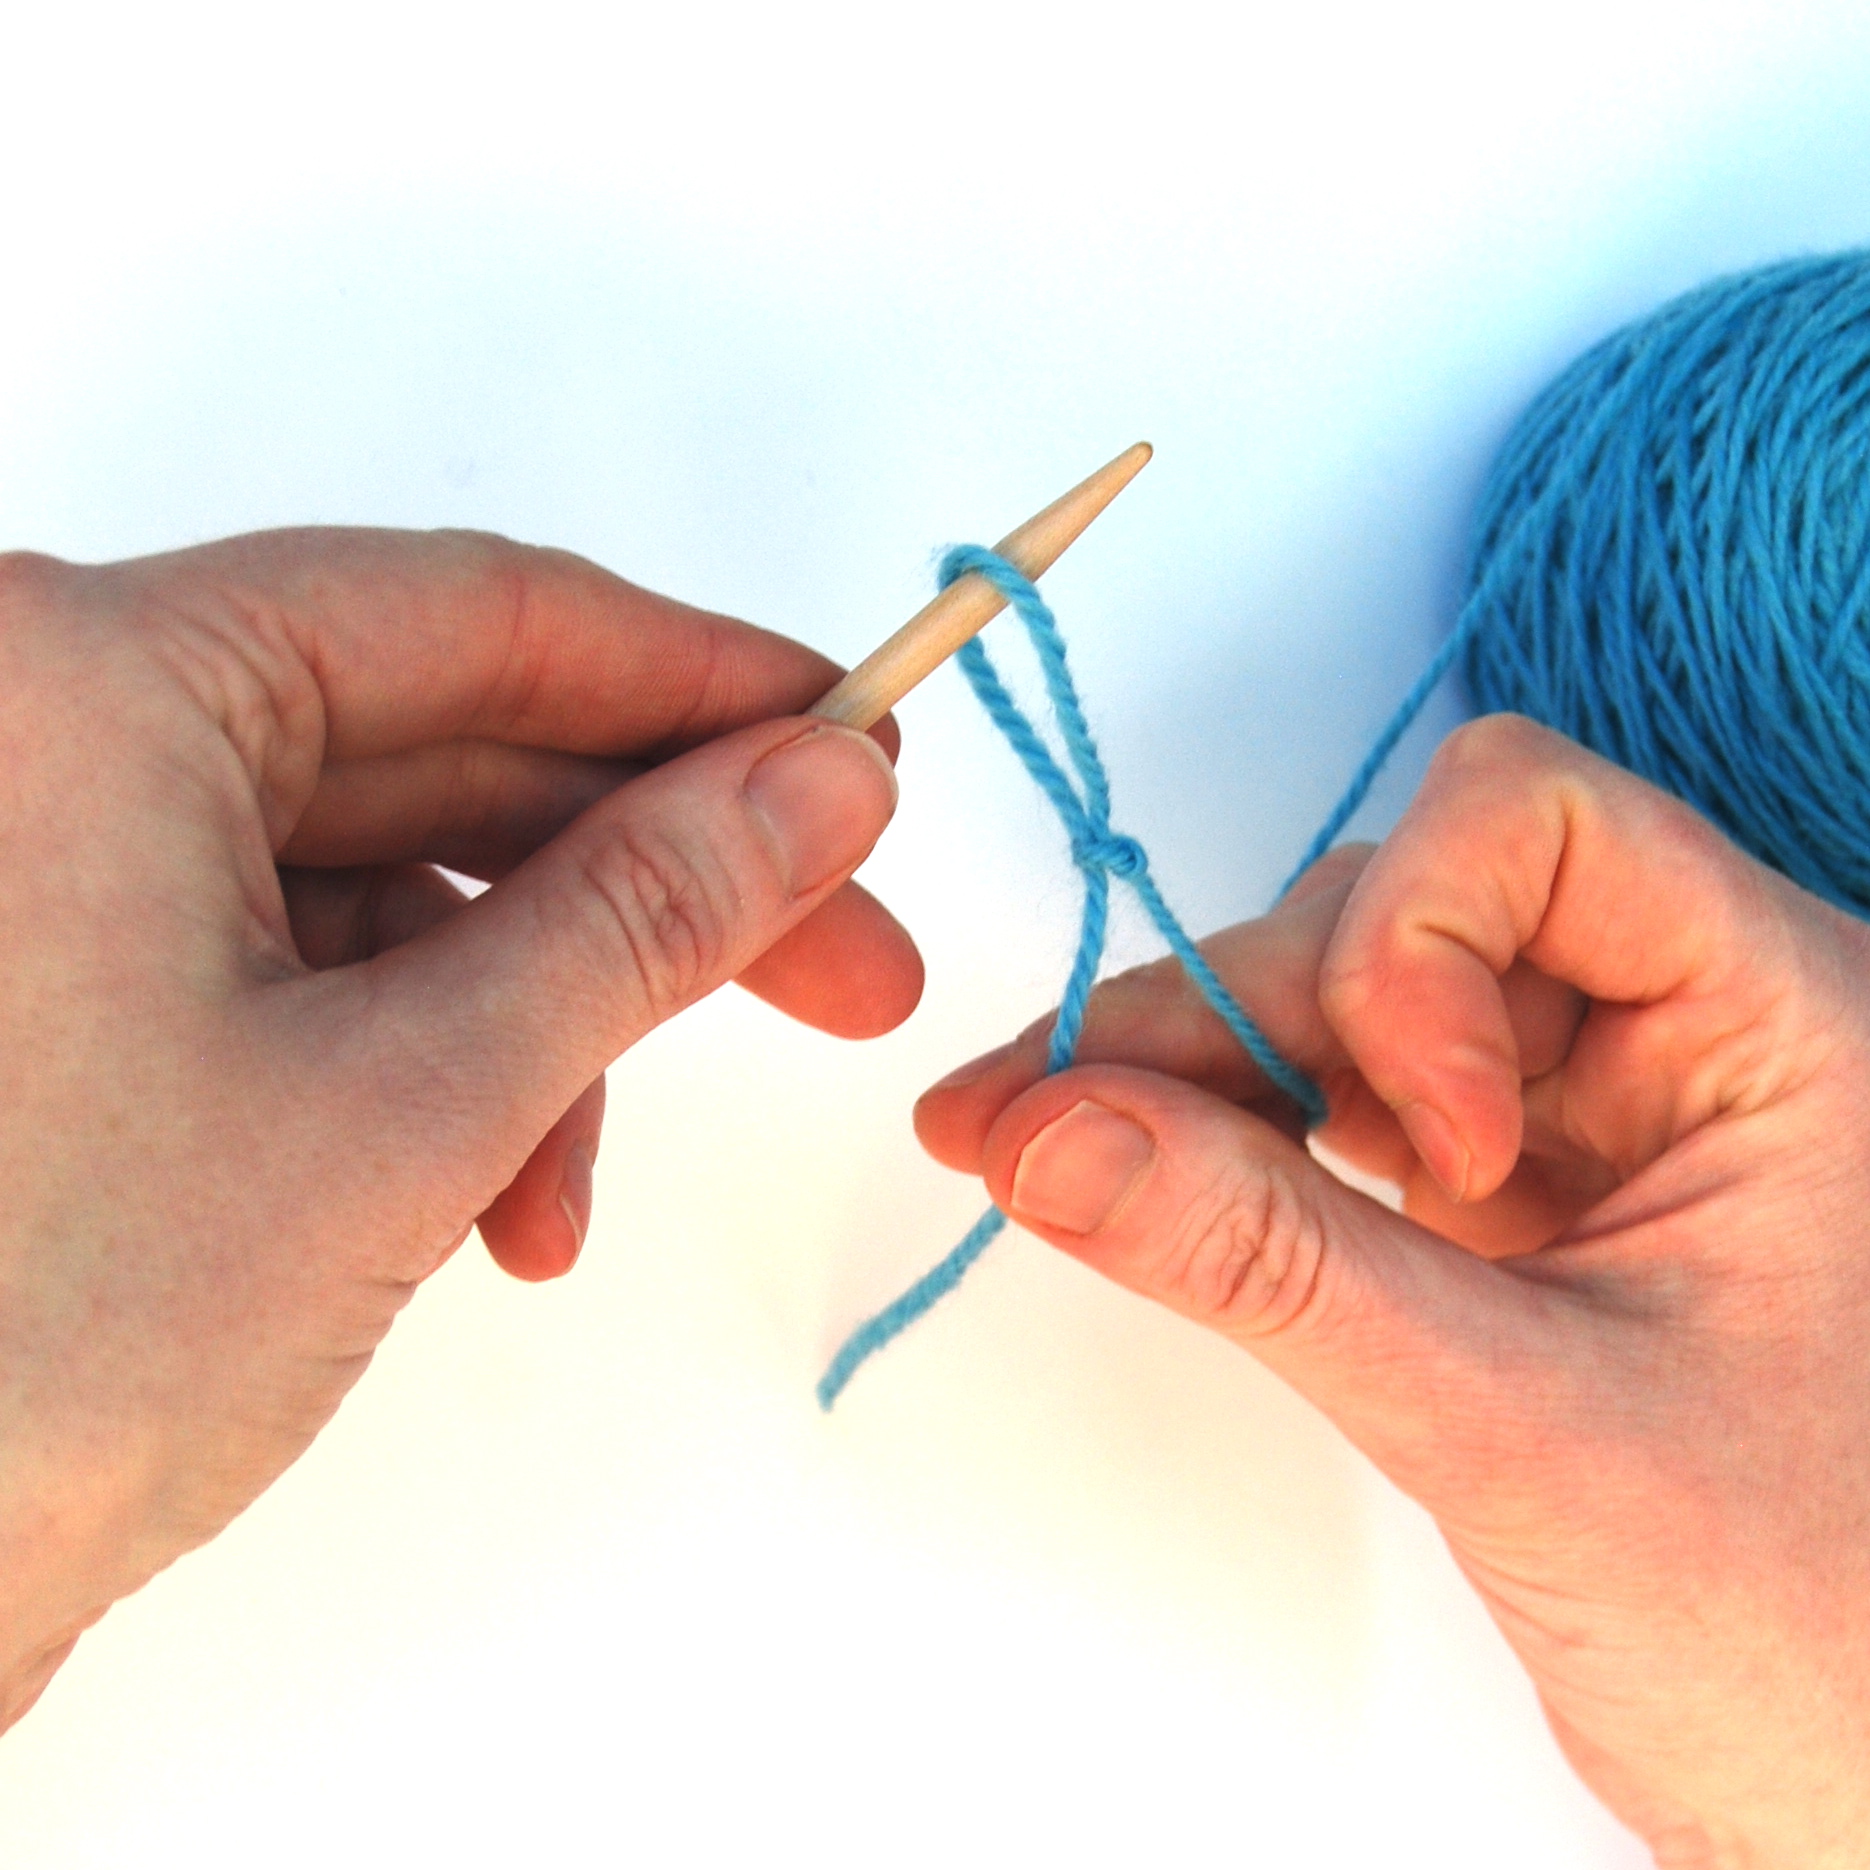
5. Put your slip knot on one of your needles, and pull both lengths of yarn gently but firmly so that the loop adjusts to the size of the needle. This becomes a ‘stitch’, and this needle will be held in your left hand (LH).
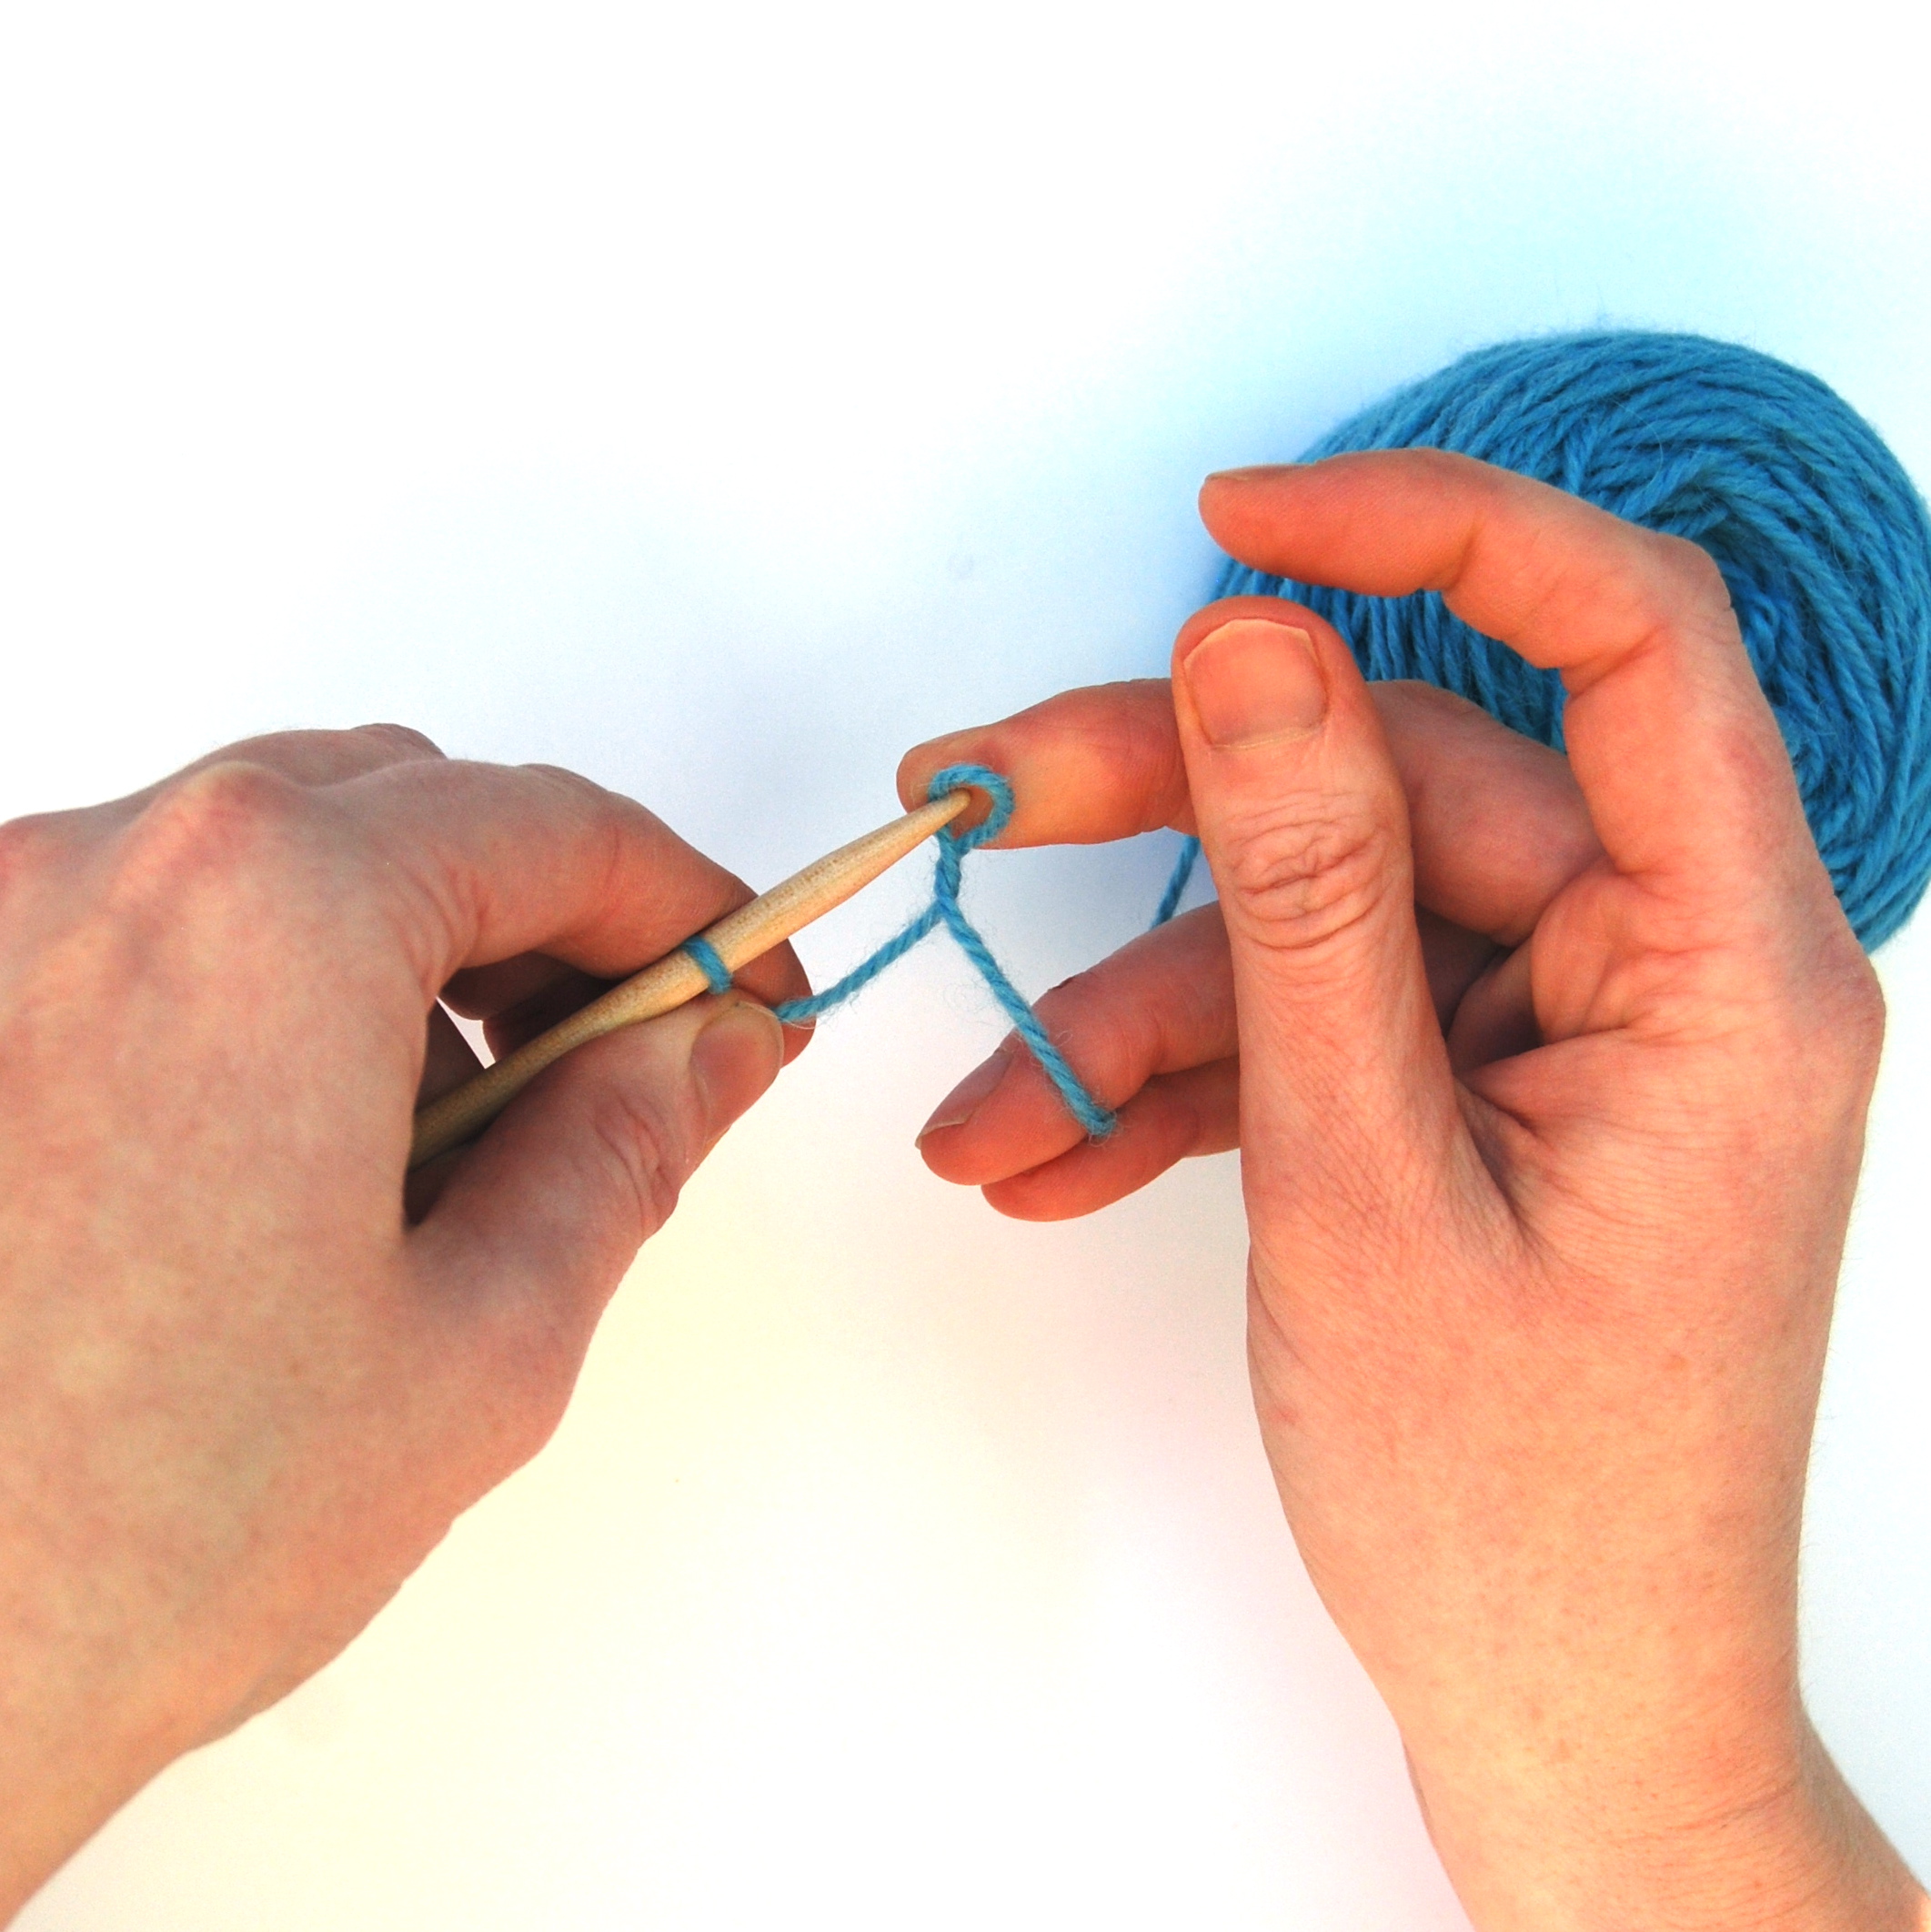
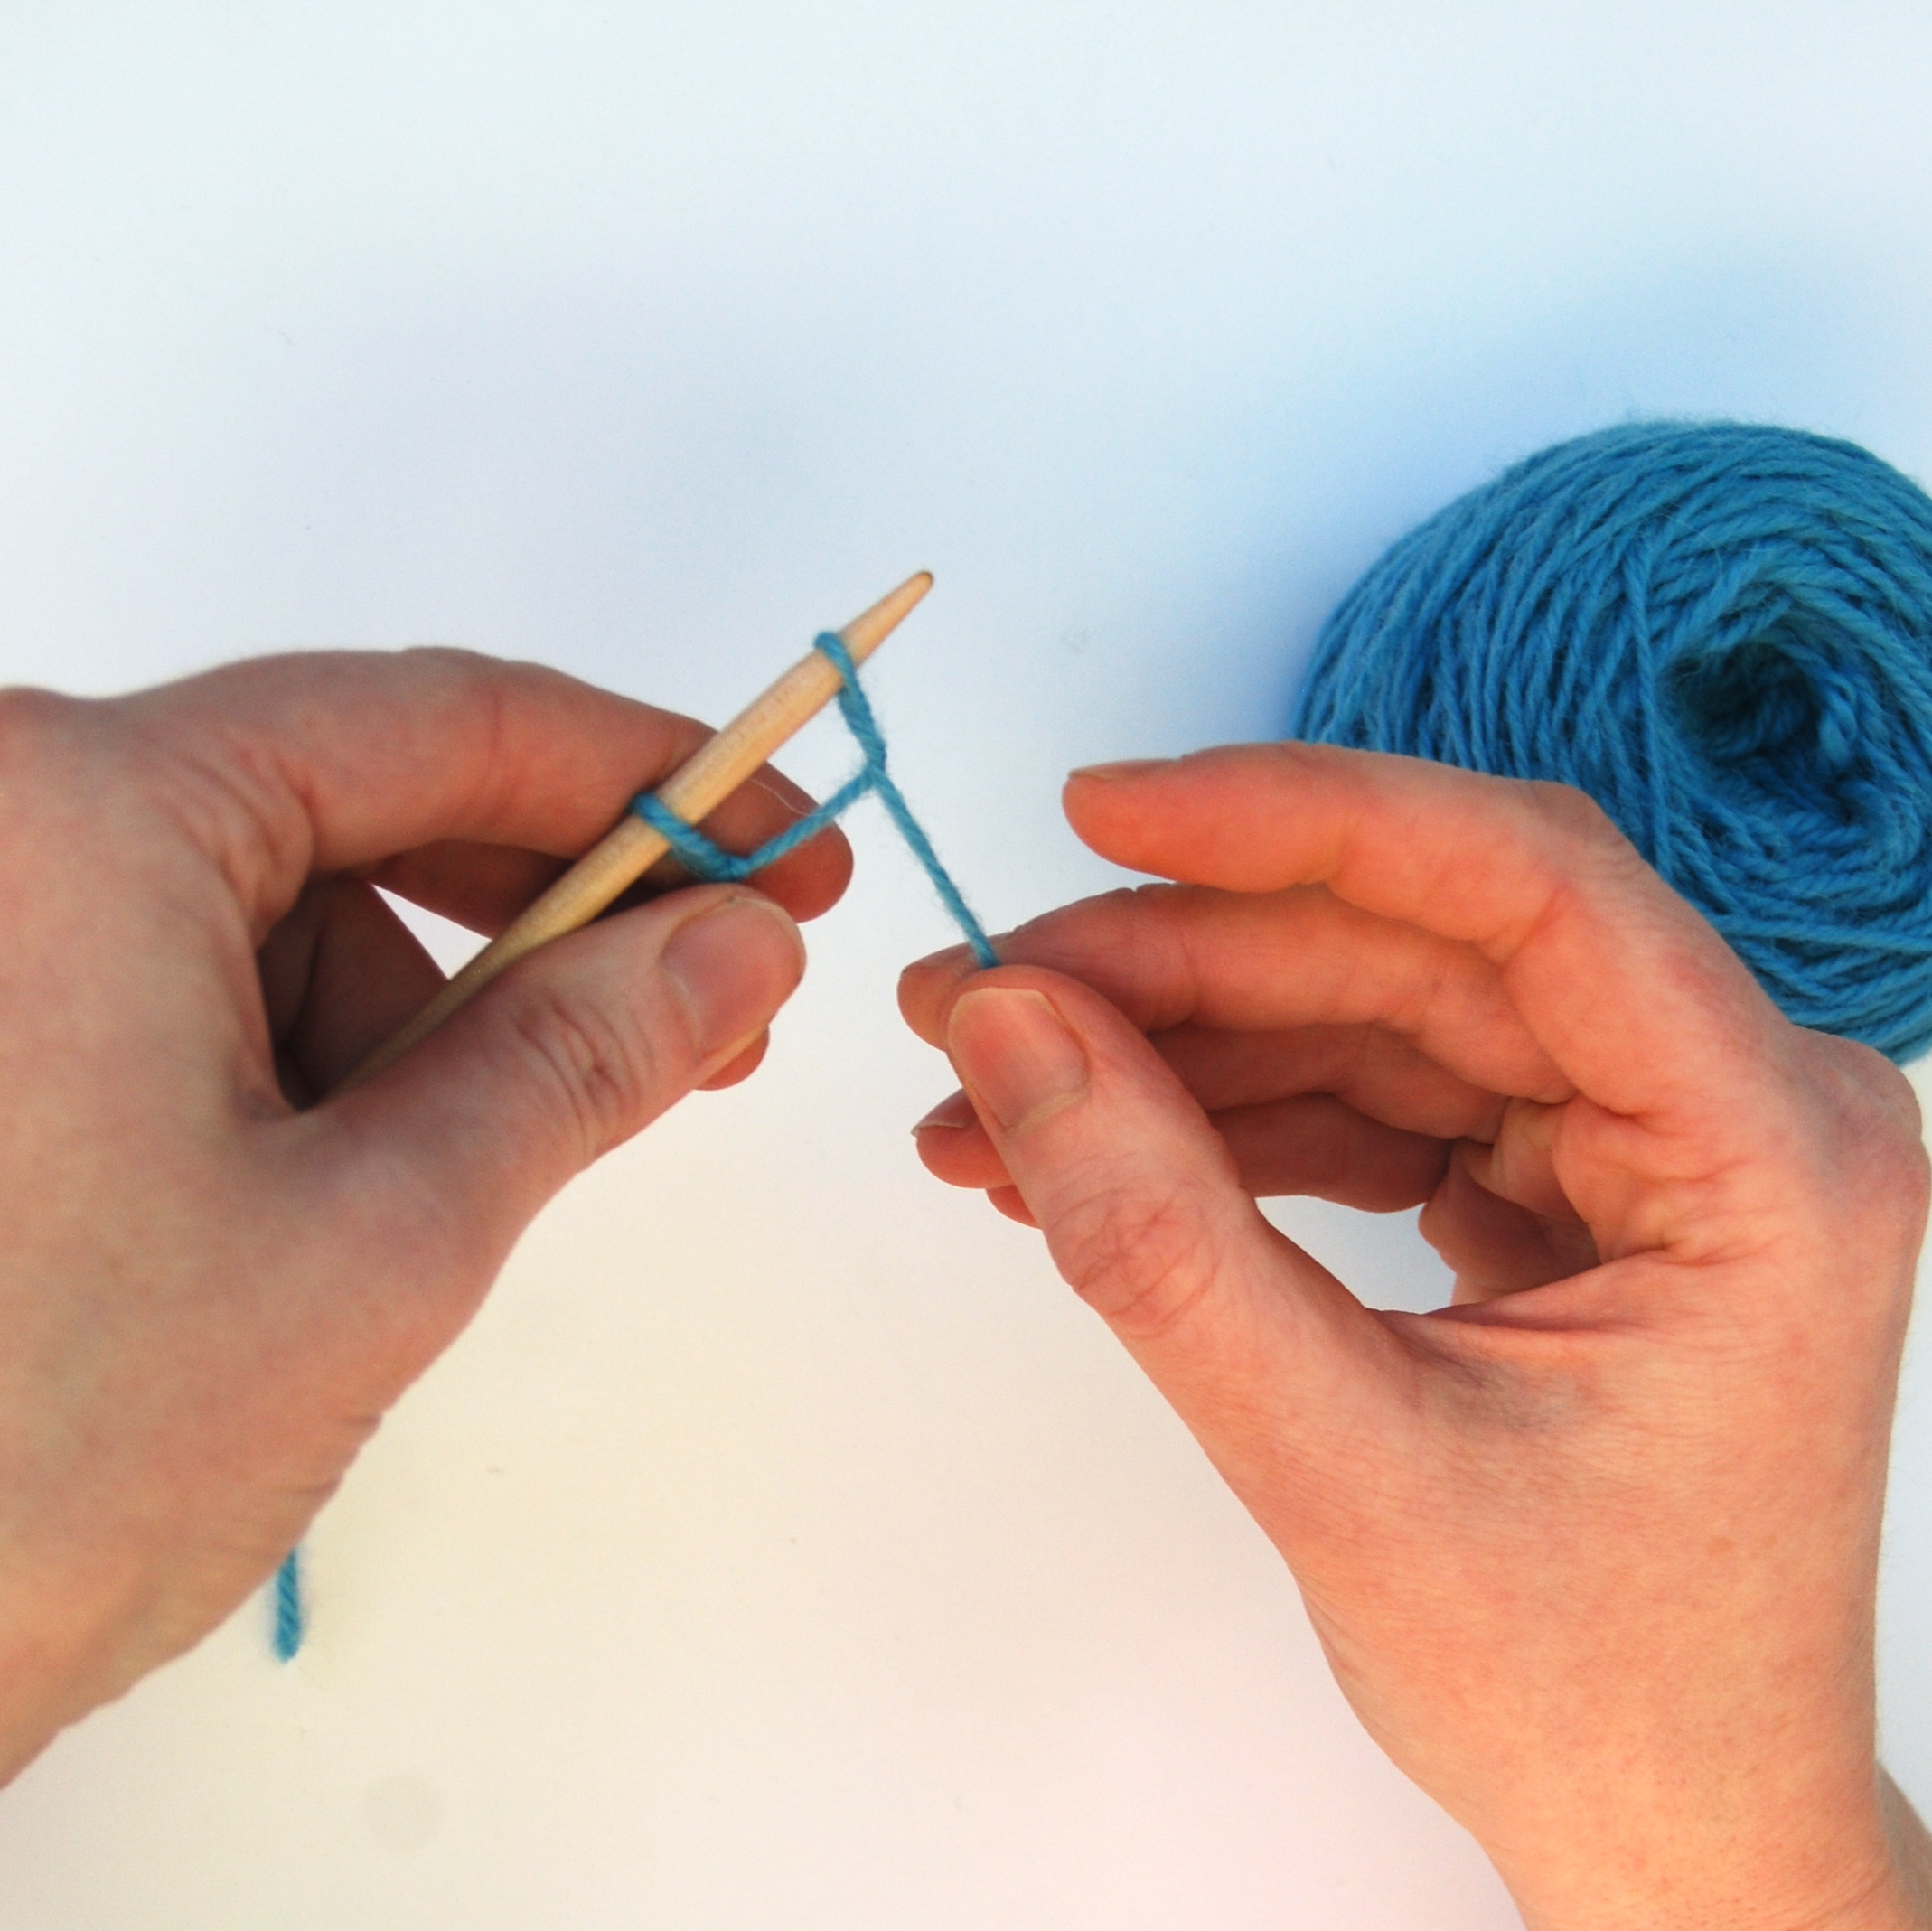
6. To create your next stitch, first cross over the long length of yarn attached to the ball, holding the loop created between the fingers and thumb of your RH. Hold the first stitch at the base of the stitch between the fingers and thumb of your LH.

7. With your RH, twist the yarn once, to strengthen the base of the loop, holding the top of the loop with your RH thumb to ensure the twist stays in place.
8. Slip the loop onto your needle, ensuring that the yarn remains twisted as you do so. Continue to hold the first stitch at the base of the stitch between the fingers and thumb of your LH.
9. As you place the stitch on the needle, keep the tension in the yarn by continuing to hold it between the fingers and thumb of your RH.
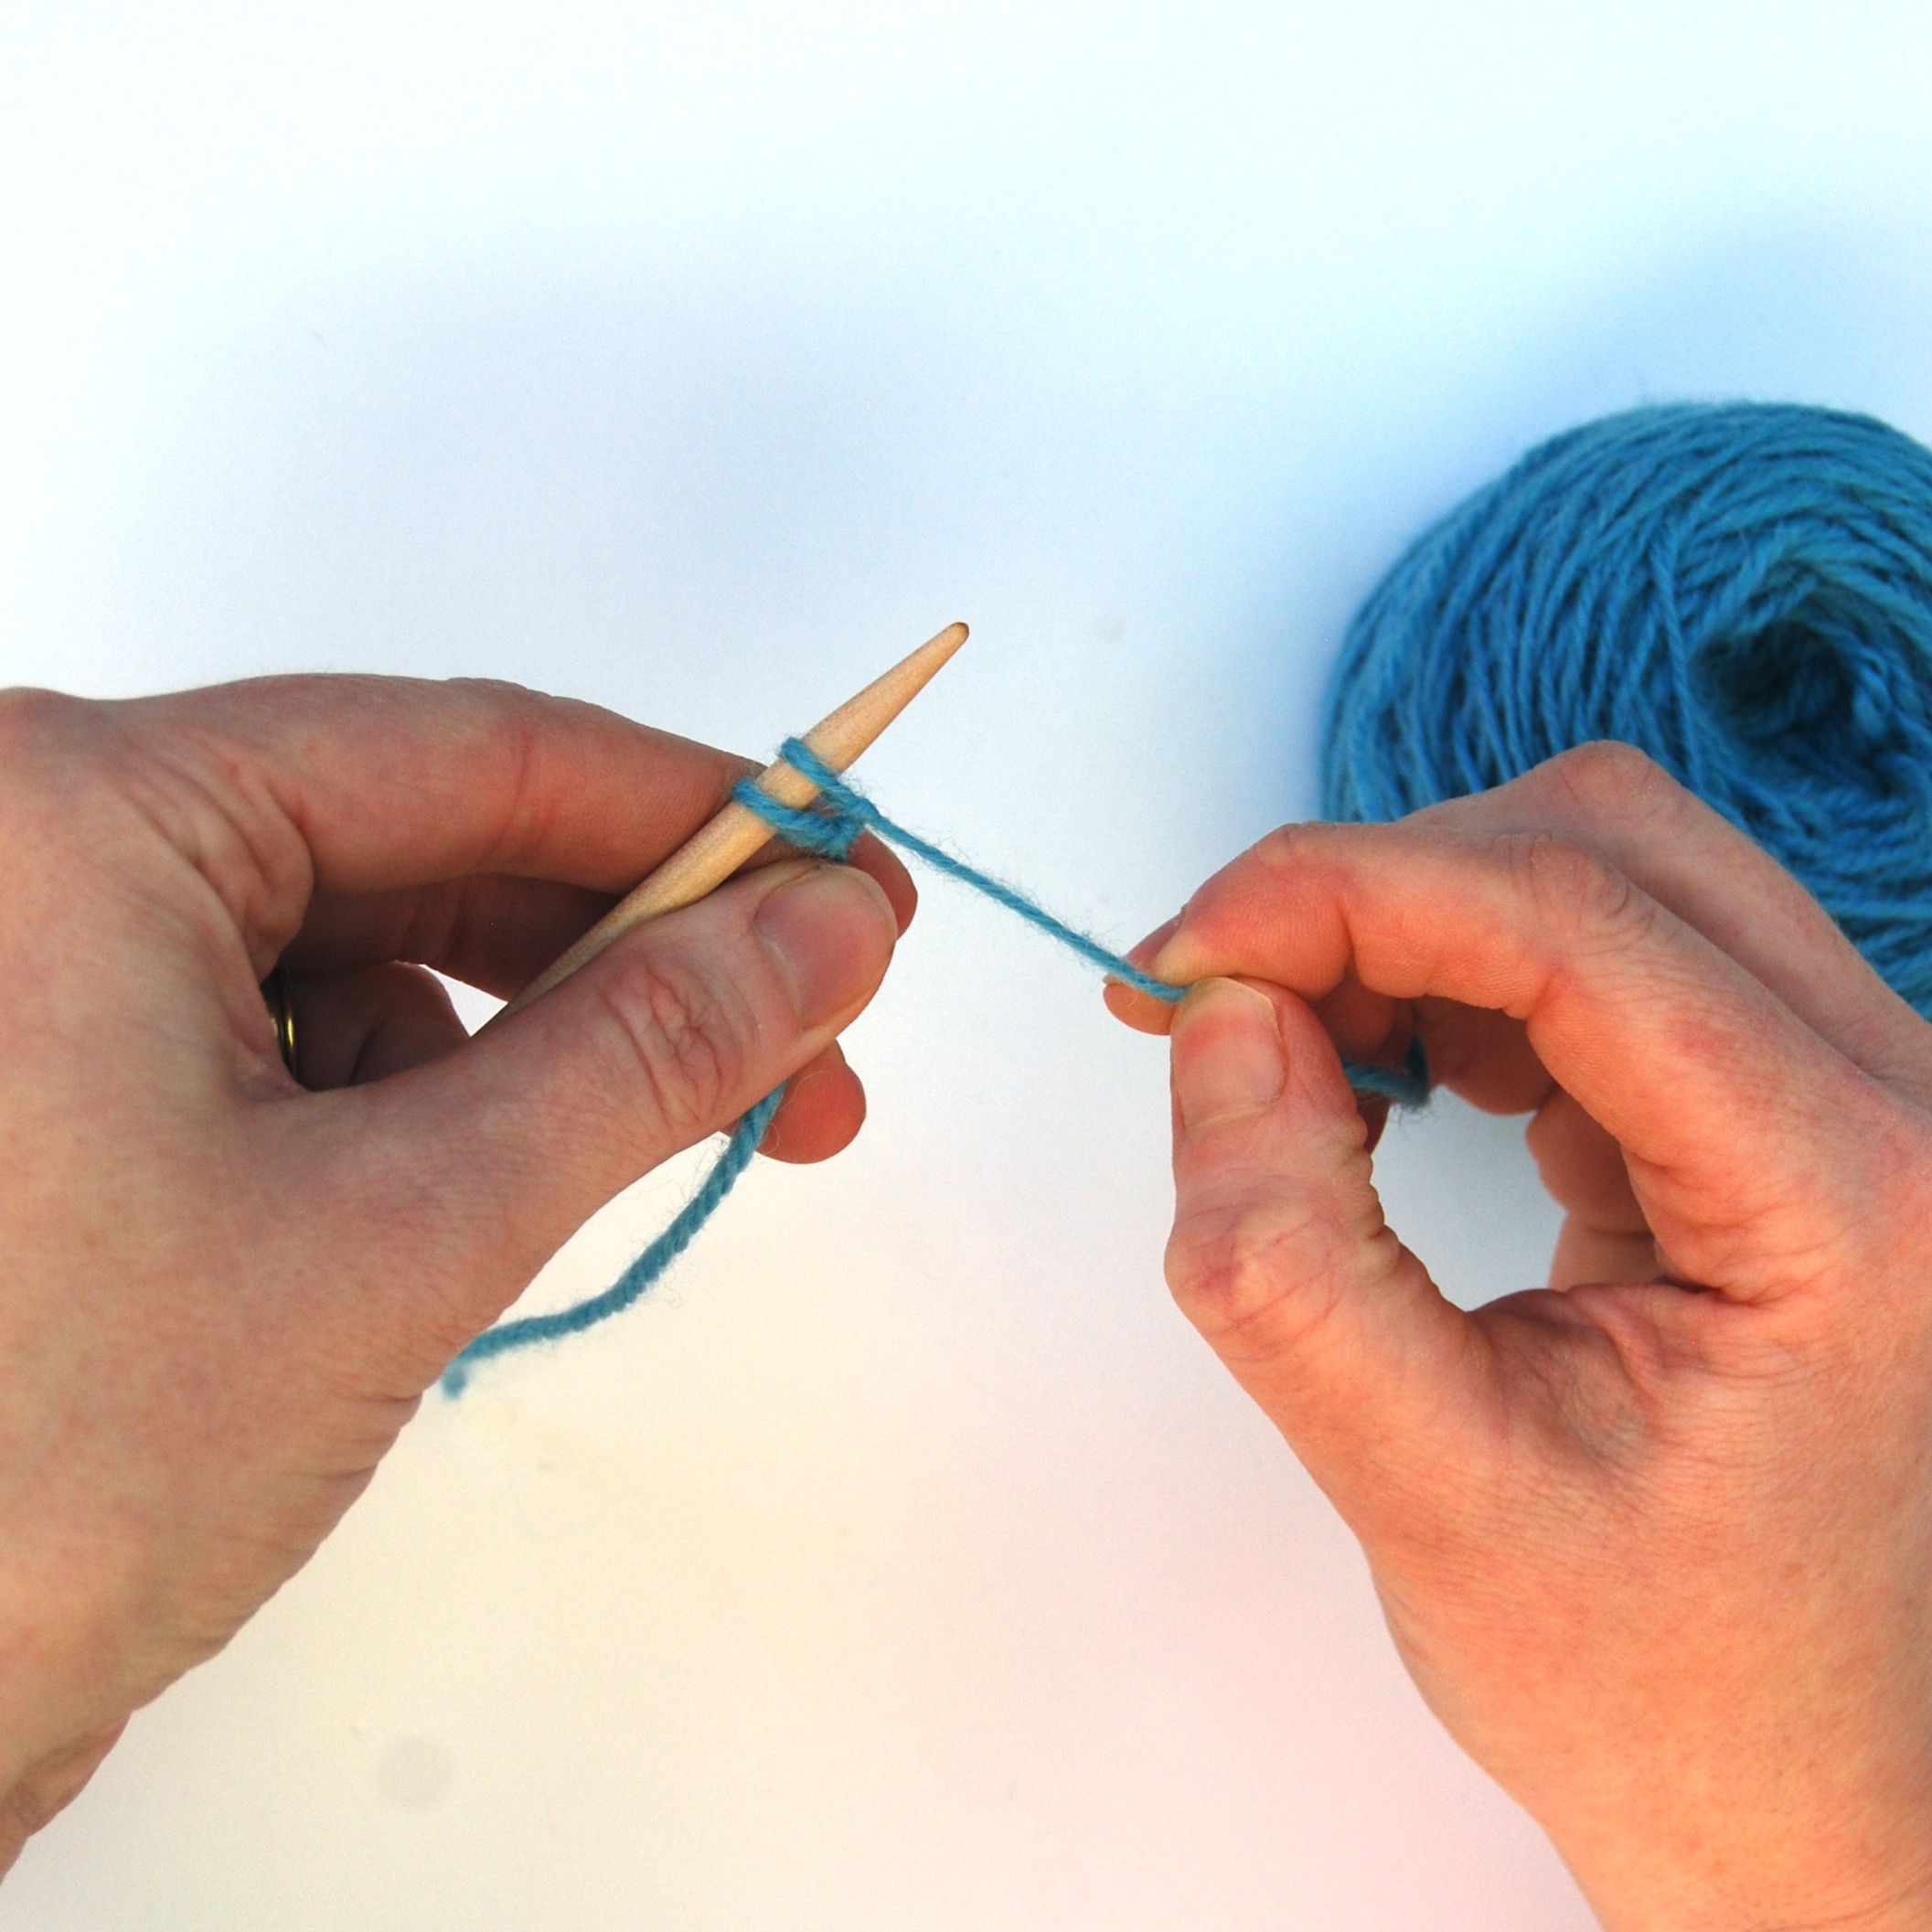
10. With your RH, pull the yarn attached to the ball to bring the second stitch close to the first and adjust the tension to create an even stitch.
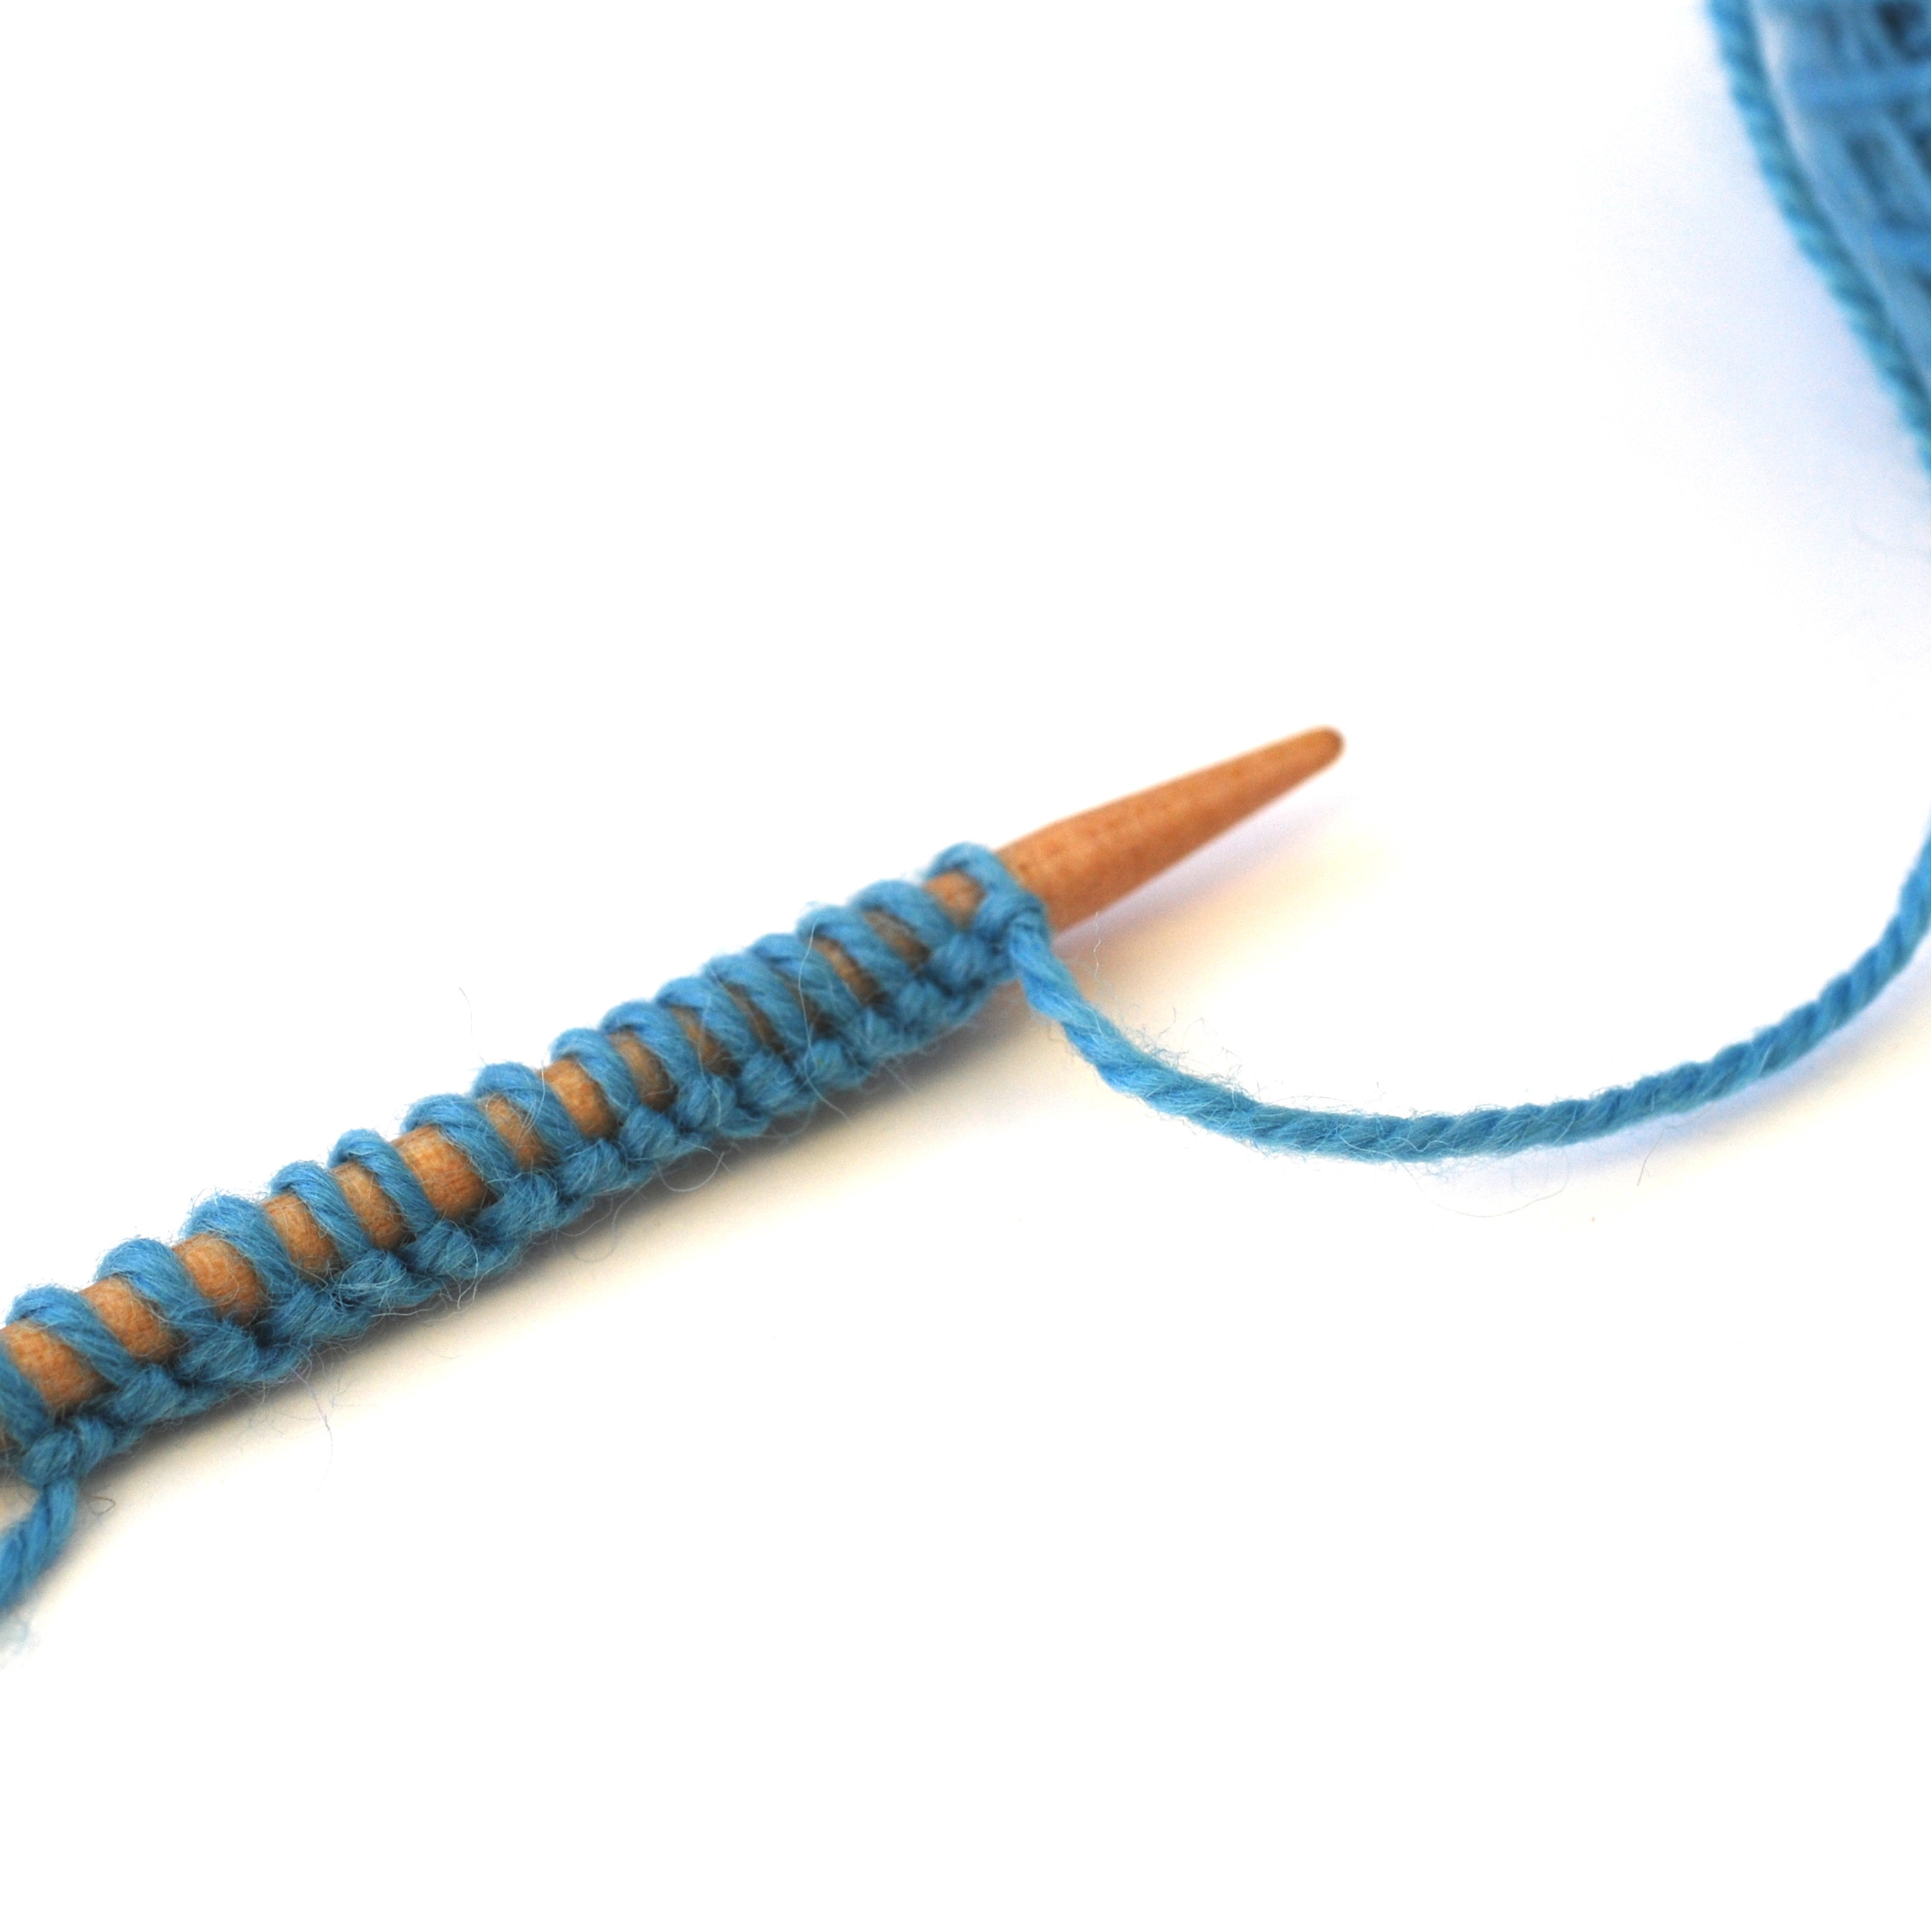
Repeat steps 6 - 10 for each stitch until you have the desired number of stitches on your needle. Now you are ready to knit. You don't need to turn your work over - you are ready to go!
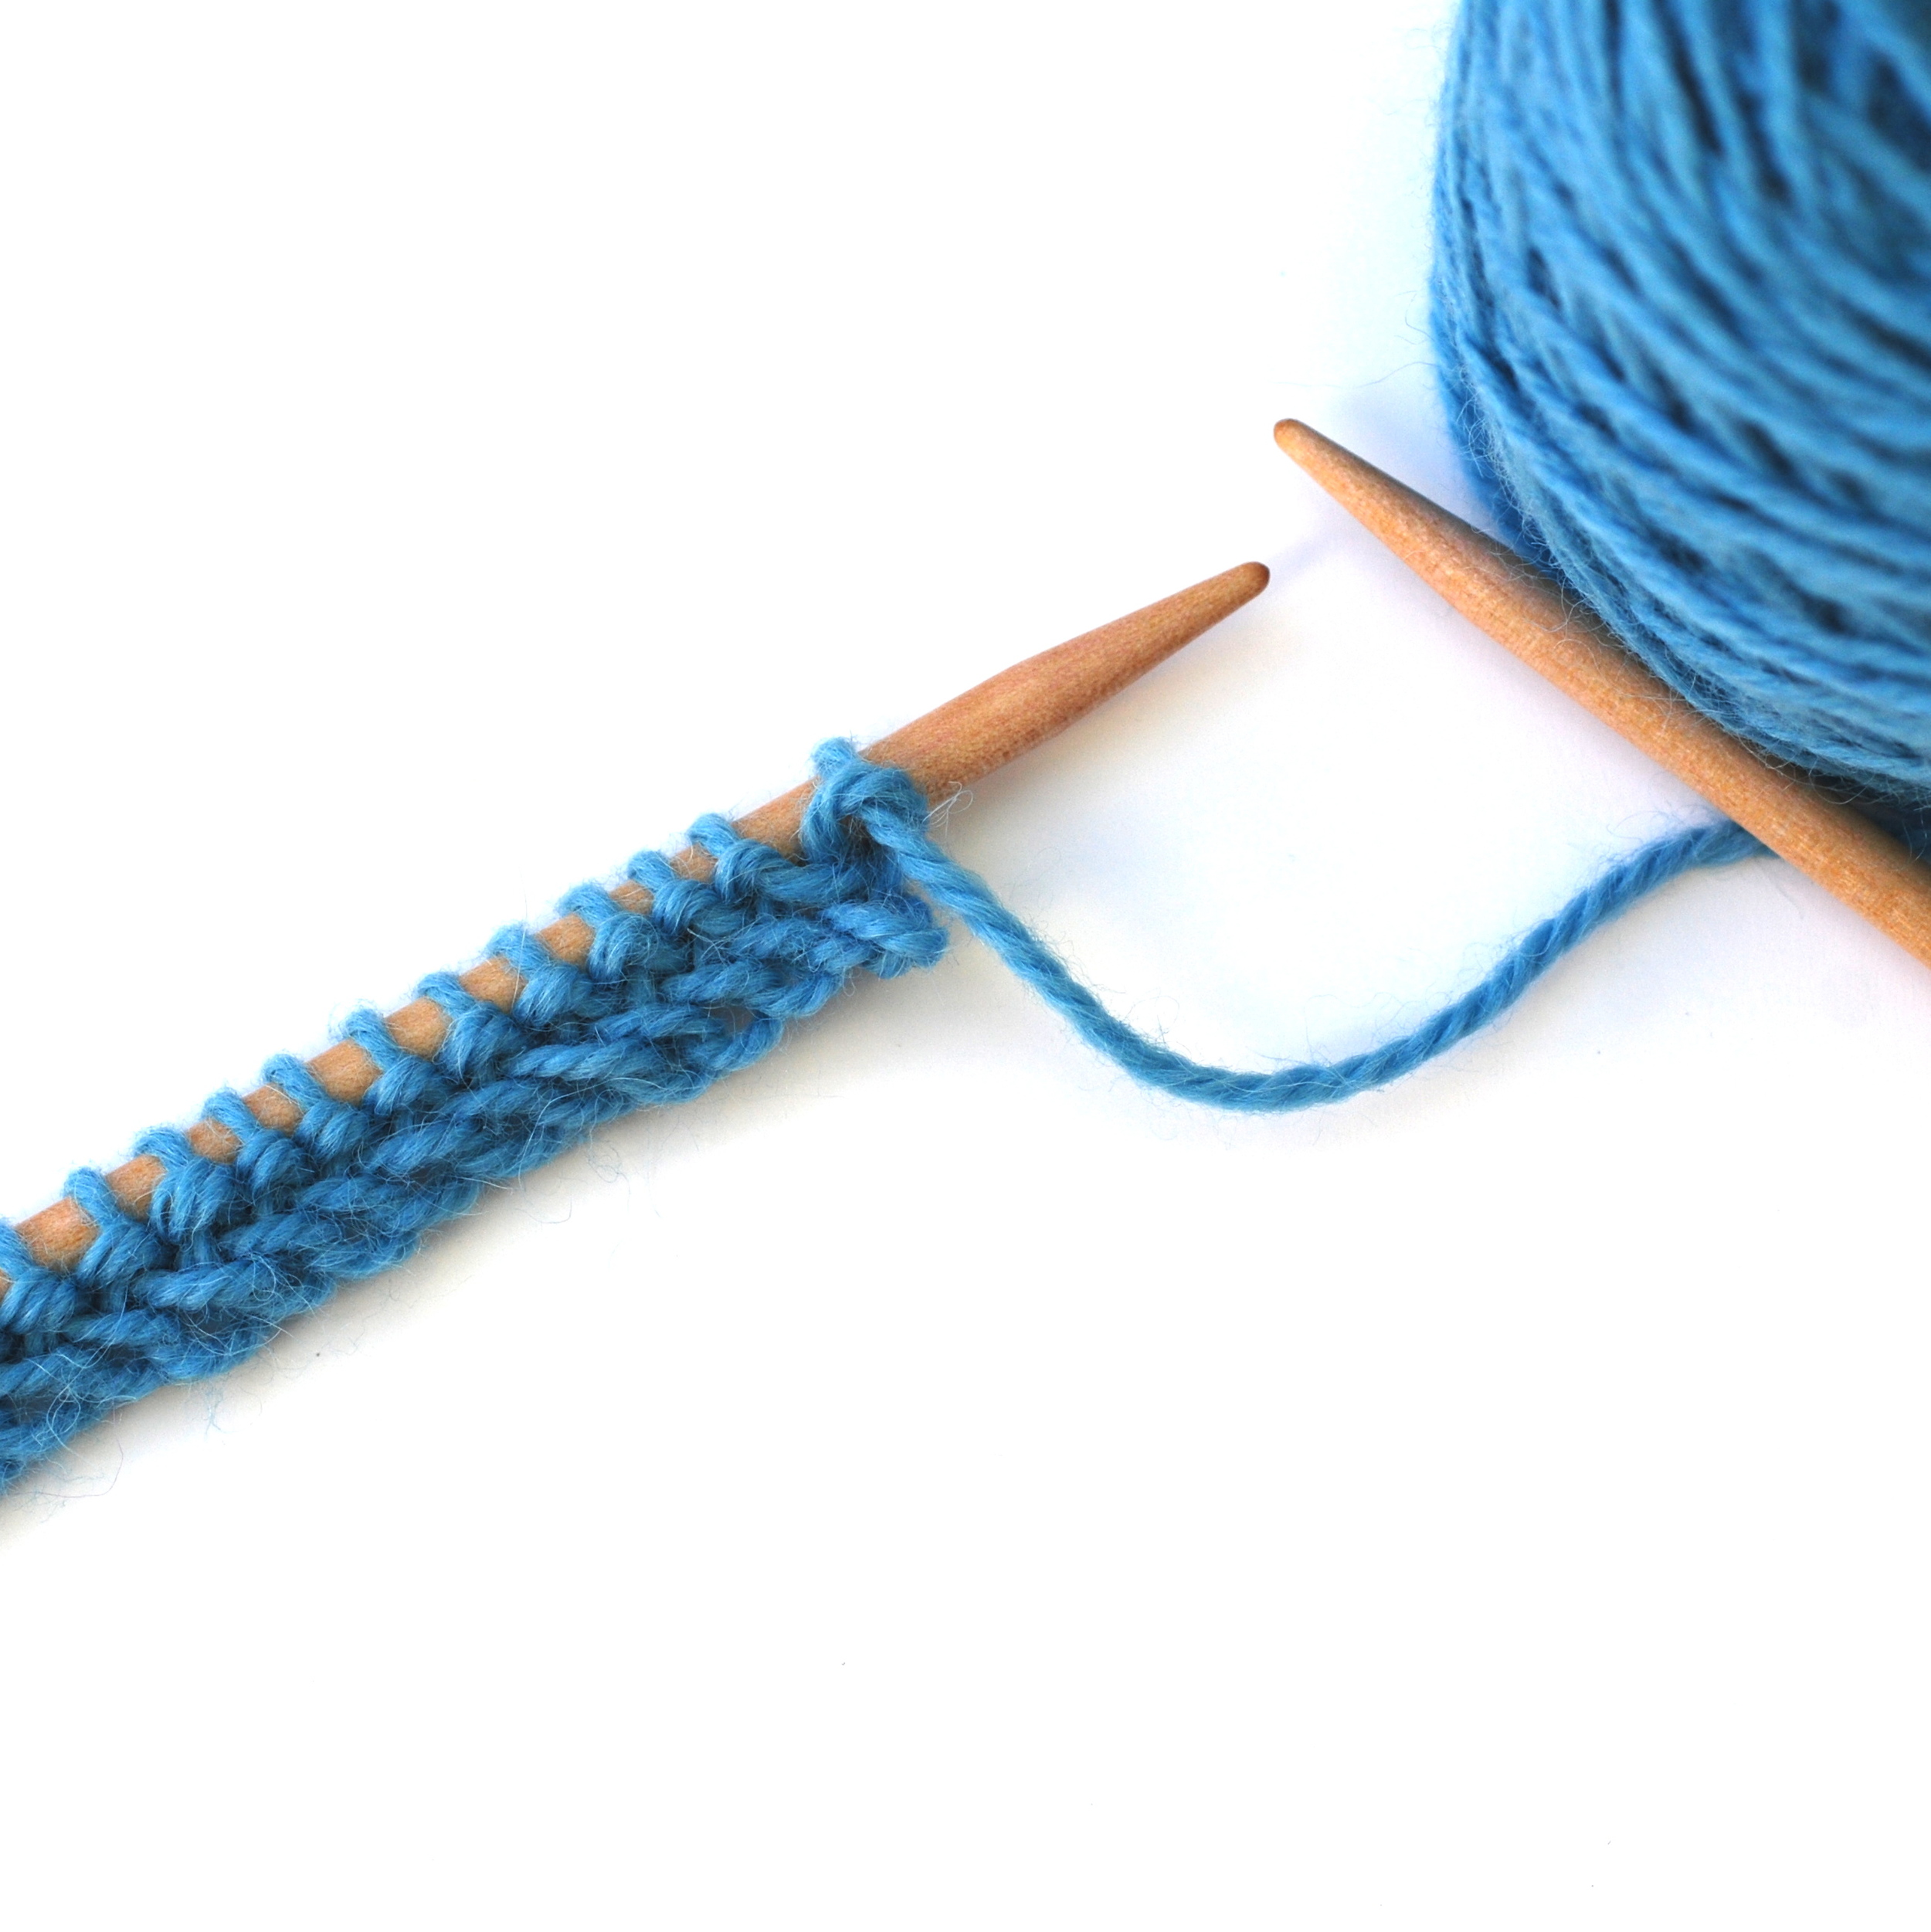
The picture above shows how the cast on edge appears after two rows of knitting.